How to Clear Cache in Windows 11: Speed Up Your PC
Has your PC started to feel a bit sluggish lately, or are you constantly fighting for more storage space? As time goes on, every computer gathers a collection of temporary files, outdated data, and general background clutter that can really drag down performance. If you have been asking yourself how to clear cache in Windows 11, you have landed in the right spot.
In this guide, we are going to walk you through the most effective ways to scrub your system clean, reclaim that precious disk space, and get your computer running up to speed again. Whether you prefer using built-in settings or don’t mind trying some advanced command-line tricks, here is everything you need to know.
Why You Need to Clear Cache in Windows 11
Before we jump straight into the solutions, it is helpful to understand why this issue crops up in the first place. Windows 11 creates temporary files to help your applications load quicker and run smoother. The catch? These files often stick around long after they have served their purpose.
Here are a few of the usual suspects:
- Windows Update Files: Old data from previous updates that can end up occupying gigabytes of space.
- Browser Cache: Scripts and images saved by Edge or Chrome to speed up your daily browsing.
- DNS Cache: Network addresses that are stored locally to help websites load faster.
- Temp Files: Leftover data fragments from system processes and installed programs.
Quick Fixes: How to Clear Cache in Windows 11
We suggest starting with these basic solutions. They are completely safe, easy to execute, and utilize tools that are already built directly into your operating system.
1. Use Storage Sense
Windows 11 comes equipped with a handy automated tool called Storage Sense that is designed to free up space automatically.
- Open your Settings menu and navigate to System > Storage.
- Toggle the Storage Sense switch to “On”.
- Click directly on Storage Sense to configure your preferred schedules (for example, setting it to run every week).
- Click Run Storage Sense now to clear the cache immediately.
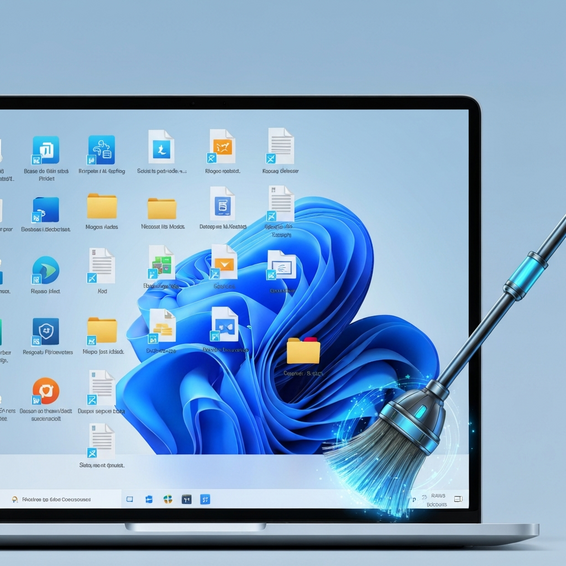
2. Disk Cleanup Tool
Even with newer features available, the classic Disk Cleanup tool remains one of the most reliable ways to get rid of system junk.
- Press the Windows Key on your keyboard, type “Disk Cleanup”, and hit Enter.
- Select your primary drive from the list (this is usually the C: drive).
- Check the boxes next to Temporary Internet Files, Thumbnails, and Temporary files.
- Click OK and then confirm by selecting Delete Files.
Advanced Solutions for Power Users
If the basic cleanup methods didn’t quite resolve your speed issues, these advanced steps will help you dig a little deeper into the system.
3. Flush the DNS Cache
If you are experiencing connectivity glitches or slow web browsing, clearing the DNS cache is essential. This process resets your network address records.
- Open the Start menu and search for CMD.
- Right-click on Command Prompt and choose Run as administrator.
- Type in the following command and press Enter:
ipconfig /flushdns
4. Clear Microsoft Store Cache
Is the Microsoft Store acting up or giving you trouble? Giving its cache a quick reset can often fix lag and download errors.
Press Windows + R to open the Run dialog box. Type wsreset.exe and press Enter. A blank command window will pop up for a few seconds, and then the Store will launch automatically once it is finished.
5. Manually Delete Temp Files
Every now and then, automated tools might skip over certain files hidden in your temporary folder.
- Press Windows + R.
- Type
%temp%and hit Enter. - Press Ctrl + A to select all the files in the folder.
- Press Delete. (Feel free to skip any files that say they are currently in use).
Optimization Best Practices
Keeping your PC clean isn’t a one-time job; it is an ongoing process. Much like how optimizing a Syncbricks Smart Home setup calls for regular maintenance to work correctly, your Windows laptop requires consistent care to keep performing at its peak.
Here are some best practices to follow:
- Restart Weekly: A simple reboot clears out the RAM and closes down lingering background processes.
- Manage Startup Apps: Use Task Manager to disable apps you don’t use from launching automatically at startup.
- Update Drivers: Make sure your hardware drivers are always current. This is especially important if you are troubleshooting connectivity with peripherals, such as using Apple AirPods Pro 3 on your Windows machine.
Recommended Tools
Although Windows 11 boasts some excellent built-in utilities, third-party software can provide you with even more granular control. Tools such as CCleaner (the free version) or BleachBit (which is open source) are very popular among IT professionals for deep cleaning tasks.
Frequently Asked Questions (FAQ)
Is it safe to delete all temporary files in Windows 11?
Yes, doing this is generally completely safe. These files are created solely for temporary use. If a program happens to need a file you deleted, it will simply generate a new one. That said, avoid manually deleting system files unless you know exactly what they are.
Will clearing cache delete my passwords?
Clearing your browser cache usually does not remove saved passwords unless you specifically verify and select the “Passwords” checkbox. However, keep in mind that clearing “Cookies” will sign you out of most websites.
How often should I clear my cache?
For the average user, allowing Storage Sense to run once a month is plenty. If you are a developer or a heavy power user, you might want to clear out your temp files on a weekly basis.
Conclusion
Mastering how to clear cache in Windows 11 is a fundamental skill for maintaining a healthy and efficient computer. By regularly removing temporary files, flushing your DNS, and utilizing Storage Sense, you can ensure your system remains fast, responsive, and clutter-free.
Go ahead and start with the Quick Fixes today, and if you find you need more power, try out the advanced manual methods. Remember, a clean PC is a productive PC!