How to Run Your Own Cloud Server at Home (Step-by-Step)
Fed up with constantly bumping into storage limits on public cloud platforms? Between the endless monthly subscription fees and mounting concerns over data privacy, it is no wonder so many users are getting frustrated with third-party providers.
Let’s face it: our modern digital lives require a massive amount of space. Between high-resolution photos, critical documents, and regular system backups, your storage needs are only going to grow—and those public cloud subscriptions will just keep getting more expensive.
If you are finally ready to take back control of your data, figuring out how to run your own cloud server at home is the ultimate fix. While it might sound like a highly complex project reserved for seasoned IT pros, today’s modern tools make it incredibly accessible to anyone willing to learn the ropes.
In this comprehensive, step-by-step guide, we will walk through the exact hardware, operating systems, and software required to build a secure DIY cloud server. Along the way, you will save money, significantly boost your privacy, and master a few valuable technical skills.
Why You Need a Personal Cloud Server
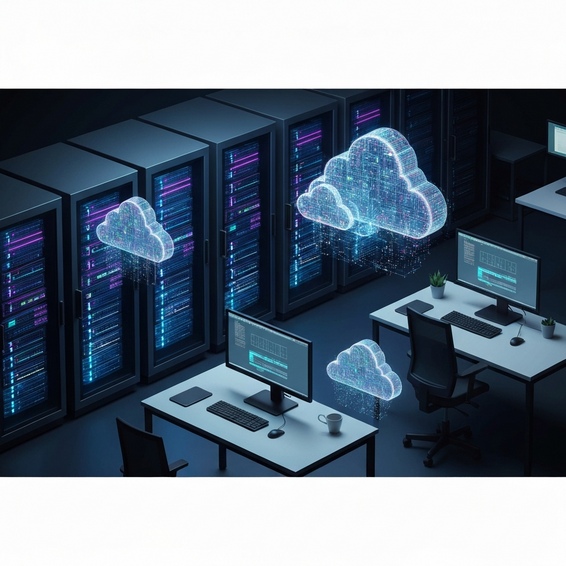
Why bother going through the effort of setting up local cloud storage when platforms like Google Drive, Dropbox, or OneDrive are so incredibly convenient? Ultimately, the shift toward self-hosting boils down to two main factors: data sovereignty and bandwidth limitations.
Whenever you upload files to a commercial provider, you are essentially handing over physical control of your personal data. These corporations often scan your documents, use your files to train their AI models, and hold the absolute power to terminate your account without a moment’s notice.
Furthermore, those long-term costs sneak up on you. A standard 2TB subscription can easily run you over $100 per year. When you stretch that out over five years, you are looking at more than enough cash to buy high-capacity server hardware capable of lasting a full decade.
Lastly, local network speeds completely blow typical internet bandwidth out of the water. When you host files locally on your own network, transferring massive video projects or running daily backups happens at blistering gigabit speeds. Simply put, a self-hosted cloud removes the frustrating bottleneck of slow internet uploads entirely.
Basic Setup: Getting Started With Your Server
You do not need to drop thousands of dollars on enterprise-grade equipment to get a home server up and running. If you are looking for a quick, straightforward start, here are the actionable steps to building your own personal cloud.
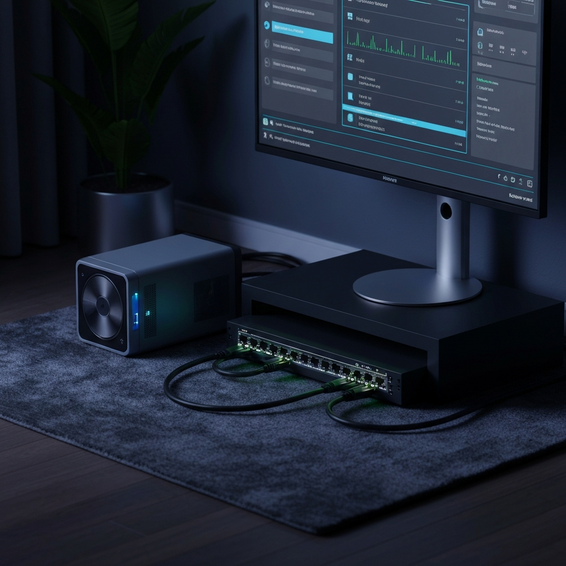
- Select Your Hardware: You definitely do not need a massive, noisy server rack. Beginners can easily start with an inexpensive Raspberry Pi 4 or 5. Alternatively, repurposing an old desktop PC gathering dust in your closet or picking up a dedicated Mini PC (like an Intel NUC) are both highly cost-effective routes.
- Install the Operating System: For a dedicated home server, your best bet is installing a stable Linux distribution. Ubuntu Server 22.04 LTS or Debian are fantastic options because they are incredibly lightweight and robust. If you are leaning toward a NAS-specific build, TrueNAS is an excellent alternative.
- Install Cloud Software: To perfectly replicate that seamless Dropbox experience, you will need a personal cloud interface. A Nextcloud setup is widely considered the industry standard here, offering automatic file syncing, slick mobile apps, and even web-based document editing.
- Configure Local Access: Once Nextcloud is fully installed, you can immediately access your files just by typing your server’s local IP address right into your web browser. From that dashboard, you can create user accounts, tweak settings, and start uploading your files.
Advanced Solutions for IT Enthusiasts
For the developers and IT enthusiasts out there, you will probably want an infrastructure that is both automated and highly scalable. While a traditional bare-metal Linux installation works perfectly fine, containerization brings a whole new level of manageability and security to the table.
Deploying Nextcloud via Docker is the modern, DevOps-approved way to go. By writing a customized Docker Compose file, you can spin up your cloud interface, a dedicated MariaDB database, and a speedy in-memory Redis cache all in one go. Not only does containerization ensure complete software isolation, but it also makes migrating your setup effortless down the line.
Of course, if you want to safely access your personal cloud from outside your home network, you will need to configure a reverse proxy. Deploying tools like Nginx Proxy Manager or Traefik allows you to securely route external internet traffic straight to your specific Docker containers.
You will also need a way to handle those pesky dynamic IP addresses assigned by your ISP. Setting up a Dynamic DNS (DDNS) provider like DuckDNS—or even better, configuring a secure Cloudflare Tunnel—ensures your server remains accessible via a custom domain name. Best of all, it achieves this without exposing dangerous, open ports directly to the public internet.
Best Practices for Security and Performance
The moment you learn how to run your own cloud server at home, you effectively take on the role of system administrator. This means maintaining tight security and ensuring data integrity falls squarely on your shoulders.
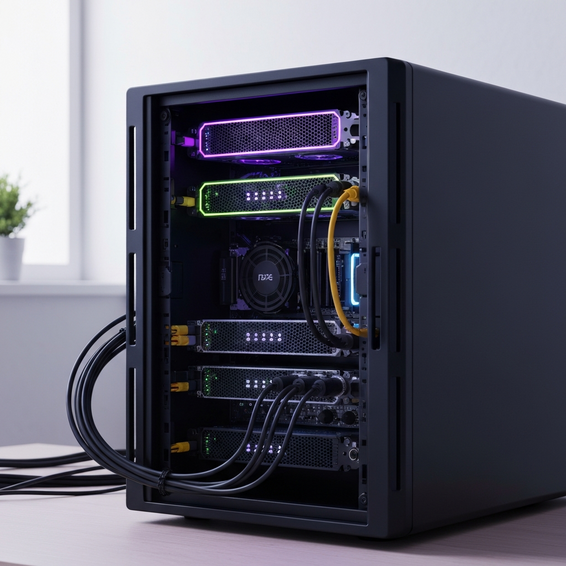
Always make sure you implement a robust backup strategy. Just because your data is sitting on a physical home server hardware setup does not mean it is immune to drive failures. Make it a habit to follow the golden 3-2-1 backup rule: keep three copies of your data, store them on two different media types, and ensure at least one backup lives offsite.
To add an extra layer of safety, utilize RAID (Redundant Array of Independent Disks) for hardware redundancy. By configuring your storage drives in RAID 1 (mirroring) or RAID 5, your server will stay online without losing a single byte of data, even if one of your hard drives completely fails.
Beyond backups, you absolutely must harden your server’s external security. Start by enabling Two-Factor Authentication (2FA) across all Nextcloud user accounts. You should also install monitoring tools like Fail2Ban to block repeated unauthorized login attempts and strictly configure your UFW (Uncomplicated Firewall). Finally, always encrypt your web traffic using free Let’s Encrypt SSL certificates to keep your connection secure.
Recommended Tools and Resources
To guarantee your self-hosting project is a complete success, it pays to rely on industry-standard tools and reliable hardware. Here is a quick rundown of our top recommendations for any DIY cloud setup.
- Nextcloud: The absolute premier free and open-source software for hosting your files, contacts, and calendars.
- Docker & Portainer: Two essential tools that make deploying, managing, and securely updating your server applications a breeze.
- Synology NAS: The go-to, off-the-shelf hardware choice for beginners looking for a simple, plug-and-play local cloud storage solution.
- Tailscale: A brilliant zero-configuration VPN tool that lets you securely access your home server from anywhere in the world, completely bypassing the need for complex port forwarding rules.
Frequently Asked Questions
Is it safe to run a home cloud server?
Yes, as long as you adhere to modern security best practices. By enforcing strong passwords, enabling 2FA, utilizing HTTPS with valid SSL certificates, and regularly keeping your server’s operating system updated, a personal cloud server can actually be much more private and secure than a public cloud alternative.
How much does a DIY cloud server cost?
You can actually kick off your project for free just by repurposing an old laptop or an unused PC. However, if you would rather build a dedicated setup from scratch, a basic Raspberry Pi kit will set you back around $100. For a more robust, enterprise-style home setup, a 2-bay NAS equipped with dedicated hard drives generally ranges between $300 and $500.
Does a personal cloud work outside the local network?
Absolutely! Whether you decide to set up a reverse proxy, configure a Dynamic DNS, or use a modern mesh VPN service like Tailscale, you can seamlessly access your documents, stream media, and back up your phone photos from anywhere in the world.
Conclusion
At the end of the day, building a self-hosted cloud is undeniably one of the most rewarding—and genuinely practical—technical projects you can take on. Not only does it free you from the endless burden of ever-increasing monthly subscriptions, but it also guarantees complete data privacy and supercharges your local network transfer speeds.
By carefully selecting reliable home server hardware, deploying powerful containerized tools like Docker and Nextcloud, and sticking to rigorous security practices, you can create a highly professional storage solution right from the comfort of your living room.
Now that you know exactly how to run your own cloud server at home, it is time to take action. Go grab that old PC, install a lightweight Linux distribution, and finally take back control of your digital life today.