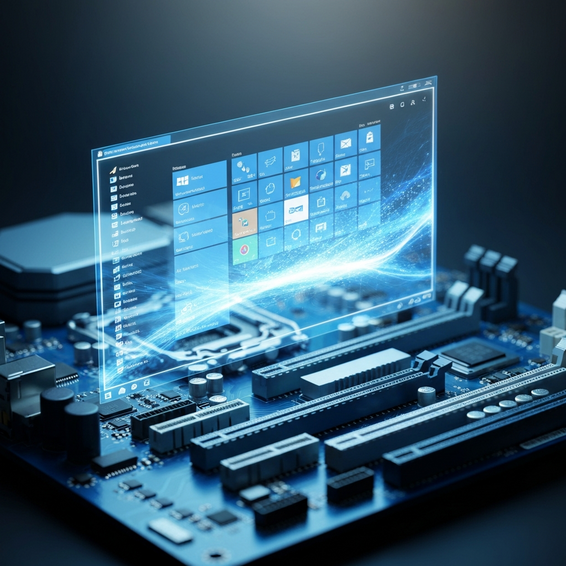
How to Speed Up Windows 11: Ultimate Performance Guide
There’s no denying that Windows 11 looks fantastic with its sleek, modern interface and suite of new productivity tools. However, it’s also no secret that the operating system can occasionally feel a bit sluggish. It doesn’t matter if you just upgraded your PC yesterday or have been running it for months—dealing with system lag is incredibly frustrating and can seriously derail your workflow. If you find yourself desperately wondering how to speed up Windows 11, you certainly aren’t the only one.
A variety of factors can silently bottleneck your computer’s hardware, ranging from demanding background processes to unoptimized visual settings. Throughout this comprehensive guide, we’ll break down actionable, easy-to-follow steps to help you fully optimize your operating system. Whether you are a casual user searching for a few quick fixes or an experienced IT professional hunting for advanced registry tweaks, the strategies outlined below will help you bring back that lightning-fast performance.
Why Windows 11 Performance Issues Happen
Before we jump straight into the solutions, it really pays to understand the technical reasons why your operating system might be slowing down in the first place. Compared to its predecessors, Windows 11 brings a whole host of virtualization, security, and user interface enhancements to the table. Because these new features naturally demand more hardware power, grasping these underlying causes is truly the first step in mastering how to speed up Windows 11.
The steady accumulation of background services and startup applications is often one of the biggest culprits. Whenever you install new software, many of those programs quietly configure themselves to launch the moment you boot up your computer, eating away at your valuable RAM and CPU cycles. Beyond that, Windows 11 actually enables Virtualization-Based Security (VBS) and Core Isolation by default on supported machines. While great for security, these features can drag down performance by as much as 15% during heavy-duty tasks like video rendering or gaming.
Storage speed and memory paging play another massive role in system responsiveness. Whenever your PC starts running low on physical RAM, Windows steps in and relies on a “page file” located on your hard drive to pick up the slack. If your computer isn’t equipped with a blazing-fast NVMe SSD, all of that constant read/write activity translates directly into noticeable system latency.
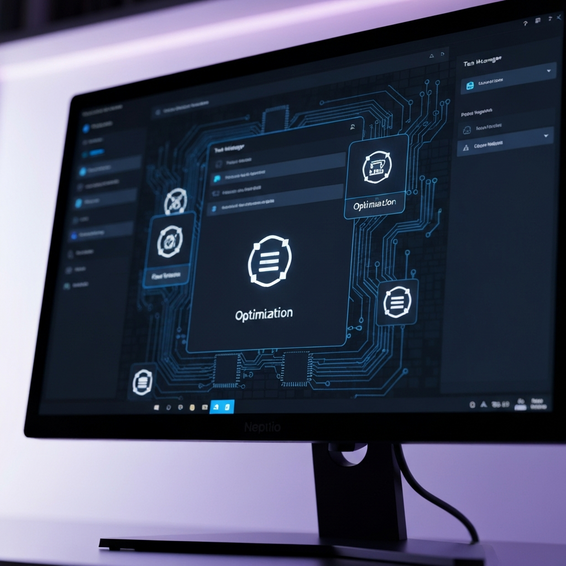
Quick Fixes / Basic Solutions
Not everyone wants to dig deep into their system’s architecture to see immediate results. If that sounds like you, starting with these essential optimizations is your best bet. Because they utilize built-in settings, these tweaks are entirely safe, practically effortless to configure, and incredibly effective for the average daily user.
- Disable Startup Apps: Hit
Ctrl + Shift + Escon your keyboard to instantly pull up the Task Manager. From there, navigate over to the “Startup apps” tab. Take a look at your list, right-click on any non-essential programs (think heavy cloud syncing tools, Skype, or Spotify), and simply select “Disable”. - Turn Off Visual Effects: There is no denying that Windows 11’s slick animations and transparency effects look stunning, but they actively drain your CPU and GPU resources. Head into Settings > Accessibility > Visual effects, and toggle the switches off for both “Transparency effects” and “Animation effects”.
- Enable Storage Sense: Letting junk files pile up is a surefire way to slow down your primary storage drive. To fix this, navigate to Settings > System > Storage and toggle on “Storage Sense.” This handy feature automatically works in the background to clear out unnecessary temporary files.
- Switch to Best Performance Power Plan: Out of the box, Windows is configured to balance power consumption with performance. You can override this by going to Settings > System > Power & battery, and shifting your Power mode directly to “Best performance”.
Implementing these straightforward adjustments frees up a noticeable chunk of resources right away. By doing so, you ensure your memory and processor are prioritizing the applications you are actively using, rather than wasting energy on hidden background aesthetics.
Advanced Solutions for IT Professionals
If you happen to be a developer, a power user, or someone actively managing a HomeLab, squeezing every ounce of power out of Windows 11 means diving into deeper configuration management. Below, you will find several advanced techniques designed to strip away system bloat and permanently reclaim lost performance.
Disable VBS and Core Isolation
While it is true that Virtualization-Based Security (VBS) adds a phenomenal layer of protection—especially for enterprise environments—it also introduces a noticeable amount of overhead that can frustrate gamers and power users alike. If you want to disable it, here is how:
- First, type “Core Isolation” into your Windows start menu search bar.
- Once open, simply toggle off the setting labeled “Memory integrity”.
- Finally, restart your PC to apply the changes. Keep in mind that disabling this feature removes a built-in layer of malware protection, so you should absolutely make sure you have solid alternative security practices in place.
Debloat Using PowerShell
Right out of the box, Windows 11 comes loaded with a variety of unnecessary applications and telemetry services running in the background. Thankfully, you can leverage powerful, open-source PowerShell scripts to safely strip out this excess telemetry. By taking advantage of automated scripts that have been thoroughly vetted by the community, you can easily remove unneeded UWP apps and halt aggressive data collection. Ultimately, this leaves you with a much leaner, faster operating system footprint.
Optimize the Paging File
Does your computer randomly stutter when you throw a heavy workload at it? If so, manually adjusting your virtual memory is a great workaround. Start by pressing Win + R, typing sysdm.cpl, and hitting Enter to open System Properties. From there, navigate to the Advanced tab, click on “Settings” under the Performance section, and then head over to the Advanced tab in the new window. You can then manually configure both the initial and maximum size of your paging file to somewhere between 1.5 and 2 times the amount of your total physical RAM. Just make sure this paging file is assigned to your fastest SSD for optimal results.
Adjust Background Apps via Group Policy
Unlike Windows 10, Microsoft decided to remove the convenient “Background apps” toggle from the main settings menu in Windows 11. Fortunately, IT administrators and advanced users can still use the Group Policy Editor (gpedit.msc) to globally disable this background activity. Once you open the editor, navigate through Computer Configuration > Administrative Templates > Windows Components > App Privacy. Find the policy named “Let Windows apps run in the background,” enable it, and then simply change the default dropdown menu to “Force Deny”.
Best Practices for Long-Term Performance
Achieving peak performance isn’t just a “set it and forget it” process; it genuinely requires a bit of ongoing maintenance. By adopting a few robust IT habits now, you can confidently ensure your computer continues running smoothly for many years down the road.
- Regular Updates: Make it a habit to keep Windows—as well as your device drivers—fully updated. Microsoft releases frequent patches specifically designed to iron out performance bugs and patch up memory leaks.
- Clean Installs over Upgrades: If you performed a direct upgrade from Windows 10, leftover registry keys and older, incompatible drivers might be silently bottlenecking your current setup. Performing a fresh, clean installation of Windows 11 is almost always the better route. Feel free to check out our other Windows resources for comprehensive installation guides.
- Hardware Upgrades: At the end of the day, no amount of software tweaking is going to magically fix outdated hardware. Making sure your operating system is running on a speedy NVMe SSD instead of a traditional HDD (or even an older SATA SSD) is arguably the single most impactful upgrade you can invest in. On top of that, bumping your system memory up to at least 16GB—though 32GB is the modern sweet spot—is practically essential for seamless multitasking today.
Recommended Tools and Resources
To give you a helping hand on your optimization journey, we’ve compiled a short list of highly recommended software tools and hardware suggestions:
- Sysinternals Autoruns: This is a fantastic, free advanced utility provided directly by Microsoft. It gives you an incredibly detailed look at exactly which programs and drivers are configured to launch during your system bootup or login sequence.
- Chris Titus Tech Windows Utility: This open-source PowerShell script provides a highly intuitive graphical interface. From there, you can securely install essential applications, run community-tested debloat scripts, and safely tweak deep OS settings without typing a single line of code.
- Hardware Upgrade: If sluggish storage is the root cause holding you back, migrating your OS to a new drive will work wonders. We highly recommend you Upgrade to a high-speed Samsung 990 PRO NVMe M.2 SSD. Doing so will drastically slash your boot times and make application loading screens a thing of the past.
Frequently Asked Questions (FAQ)
Does Windows 11 use more RAM than Windows 10?
The short answer is yes. Right out of the box, Windows 11 generally consumes a bit more memory than its predecessor. This is largely due to its modernized user interface rendering, enhanced background processes, and much stricter baseline security features. While you technically only need a minimum of 8GB of RAM to run the OS, bumping that up to 16GB is strongly recommended if you want a truly smooth, lag-free experience.
Will disabling VBS improve gaming performance?
Absolutely. Countless independent benchmarks over the past couple of years have confirmed that turning off Virtualization-Based Security (VBS) can boost your frame rates anywhere from 5% to 15%. Keep in mind, however, that the exact performance gain depends heavily on the specific game you’re playing and your processor’s architecture. Just remember that this extra speed does come with a tradeoff, slightly lowering your system’s protection against more sophisticated malware threats.
Is it safe to use third-party debloat tools?
That really depends on the specific tool you choose. Generally speaking, open-source utilities that are actively monitored and vetted by the broader tech community are perfectly safe to use. On the flip side, overly aggressive “registry cleaners” can easily corrupt critical operating system files. Because of this, you should always make it a strict habit to create a System Restore point before executing any sort of debloat script or tinkering with your registry keys.
Should I use third-party antivirus software on Windows 11?
For the vast majority of people, the built-in Windows Defender is more than sufficient. Plus, it has the added benefit of being heavily optimized directly for the operating system itself. Tacking on a bulky third-party antivirus suite often creates redundant, overlapping scanning processes that can end up severely bogging down your CPU and throttling your disk usage.
Conclusion
Ultimately, knowing exactly how to speed up Windows 11 is an incredibly valuable skill to have in your digital toolkit. It is the perfect bridge between pulling your hair out in frustration and achieving optimal daily productivity. By taking the time to understand the root causes behind system latency, applying a few quick UI adjustments, and carefully diving into more advanced PowerShell and registry configurations, you can fully reclaim your hardware’s true potential.
Just remember that maintaining good system hygiene is an ongoing process. Make it a routine to regularly clear out your storage drives, keep a close eye on your startup applications, and diligently update your device drivers. If you stay consistent and implement the strategies we’ve outlined in this guide, your Windows 11 machine is guaranteed to feel as fast—if not even faster—than the very first day you bought it.